Blog · Blogs
Construction Guide for HASS AAC Lightweight Blocks
1. SCOPE OF APPLICATION:
This article is a special guide for the construction process with aac AAC lightweight blocks, also known as lightweight concrete bricks, autoclaved aerated concrete in general and HASS bricks in particular.
Autoclaved Aerated Concrete (AAC) bricks, also known as HASS bricks, have outstanding benefits compared to traditional fired clay bricks such as: light weight, sound and thermal insulation along with effective fire resistance. It is a new and environmentally friendly construction material with high cost savings
1.1 HASS AAC block construction tools:
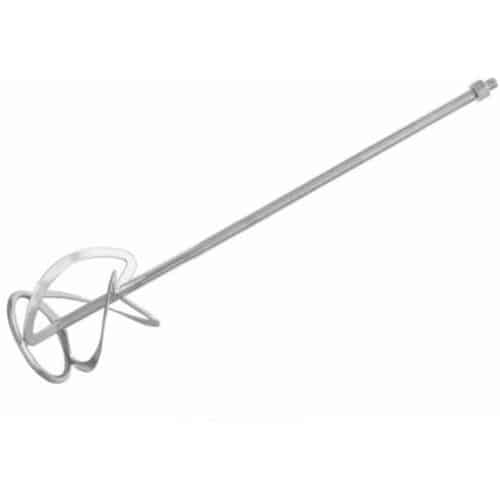
- Stirring tip: Used in mixing mortar, often combined with a drill.
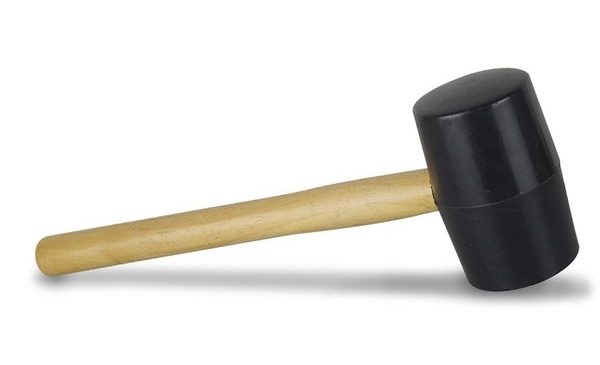
- Rubber hammer: used to compress bricks and adjust brick position.
- Nail hammer
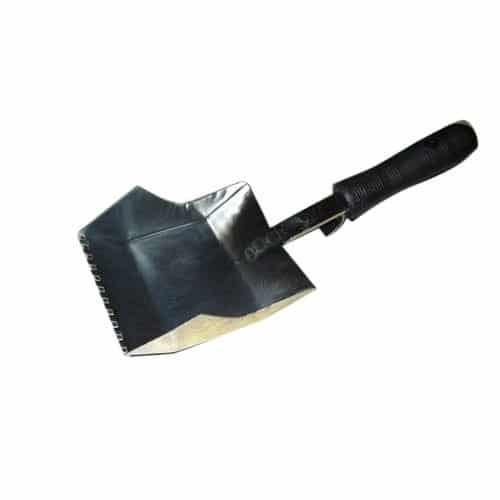
- Sawtooth fly
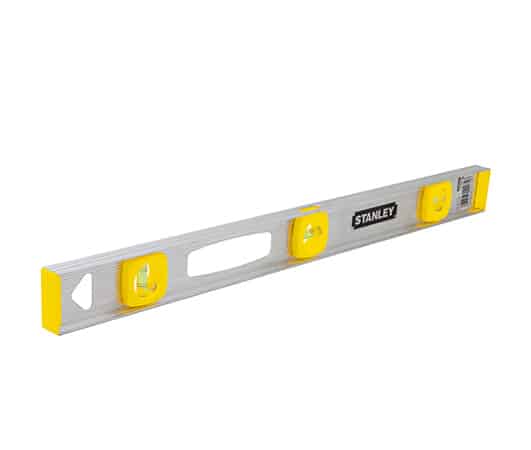
- Water ruler: Determine the balance for the bricks.
- Handsaw: Used to cut tiles.
- Sanding table: Smooth out tile profiles and rough surfaces.
- Triangle fly: Fill and repair missing mortar joints.
- Cutting machine
- Specialized millet
2. CONSTRUCTION PROCESS:
2.1. Preparation work:
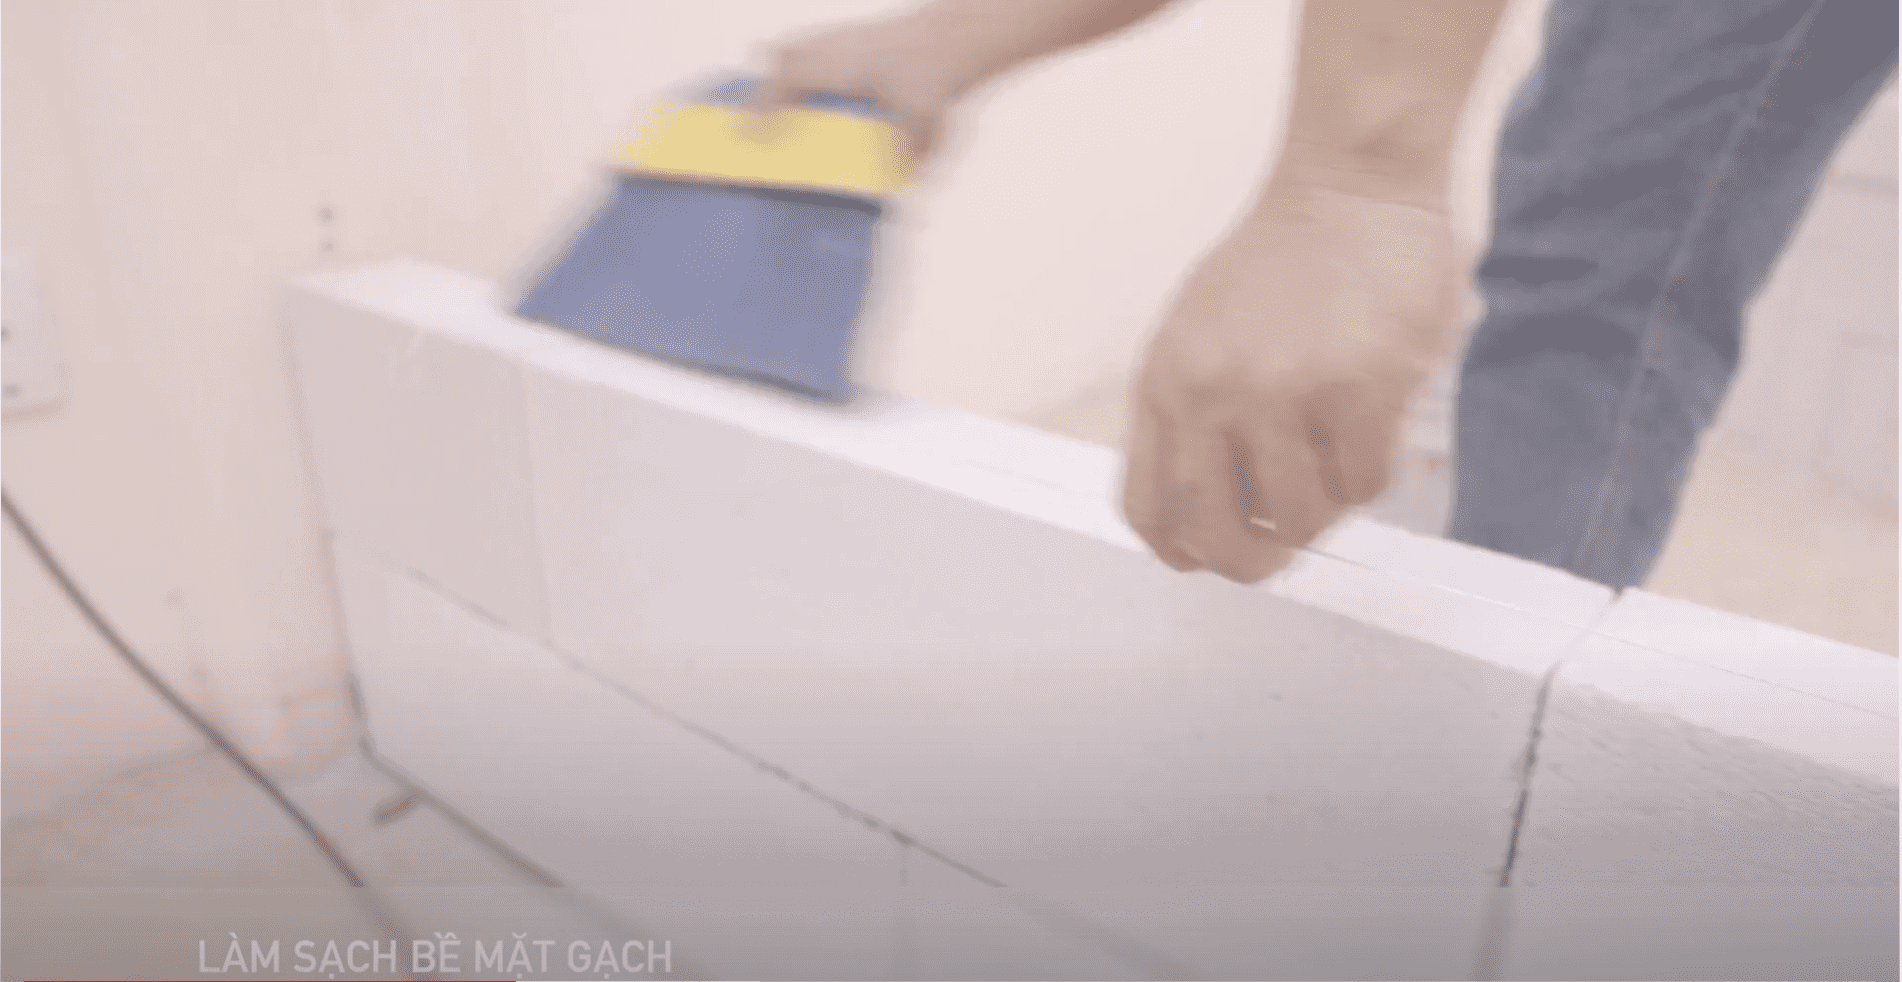
Always keep the surface clean
2.1.1 Cleaning and preparing the premises:
+ Clean the construction area and moisten the base of the wall.
+ Brush off layers of dust on the tile surface.
2.2 Mortar mixing and finishing:
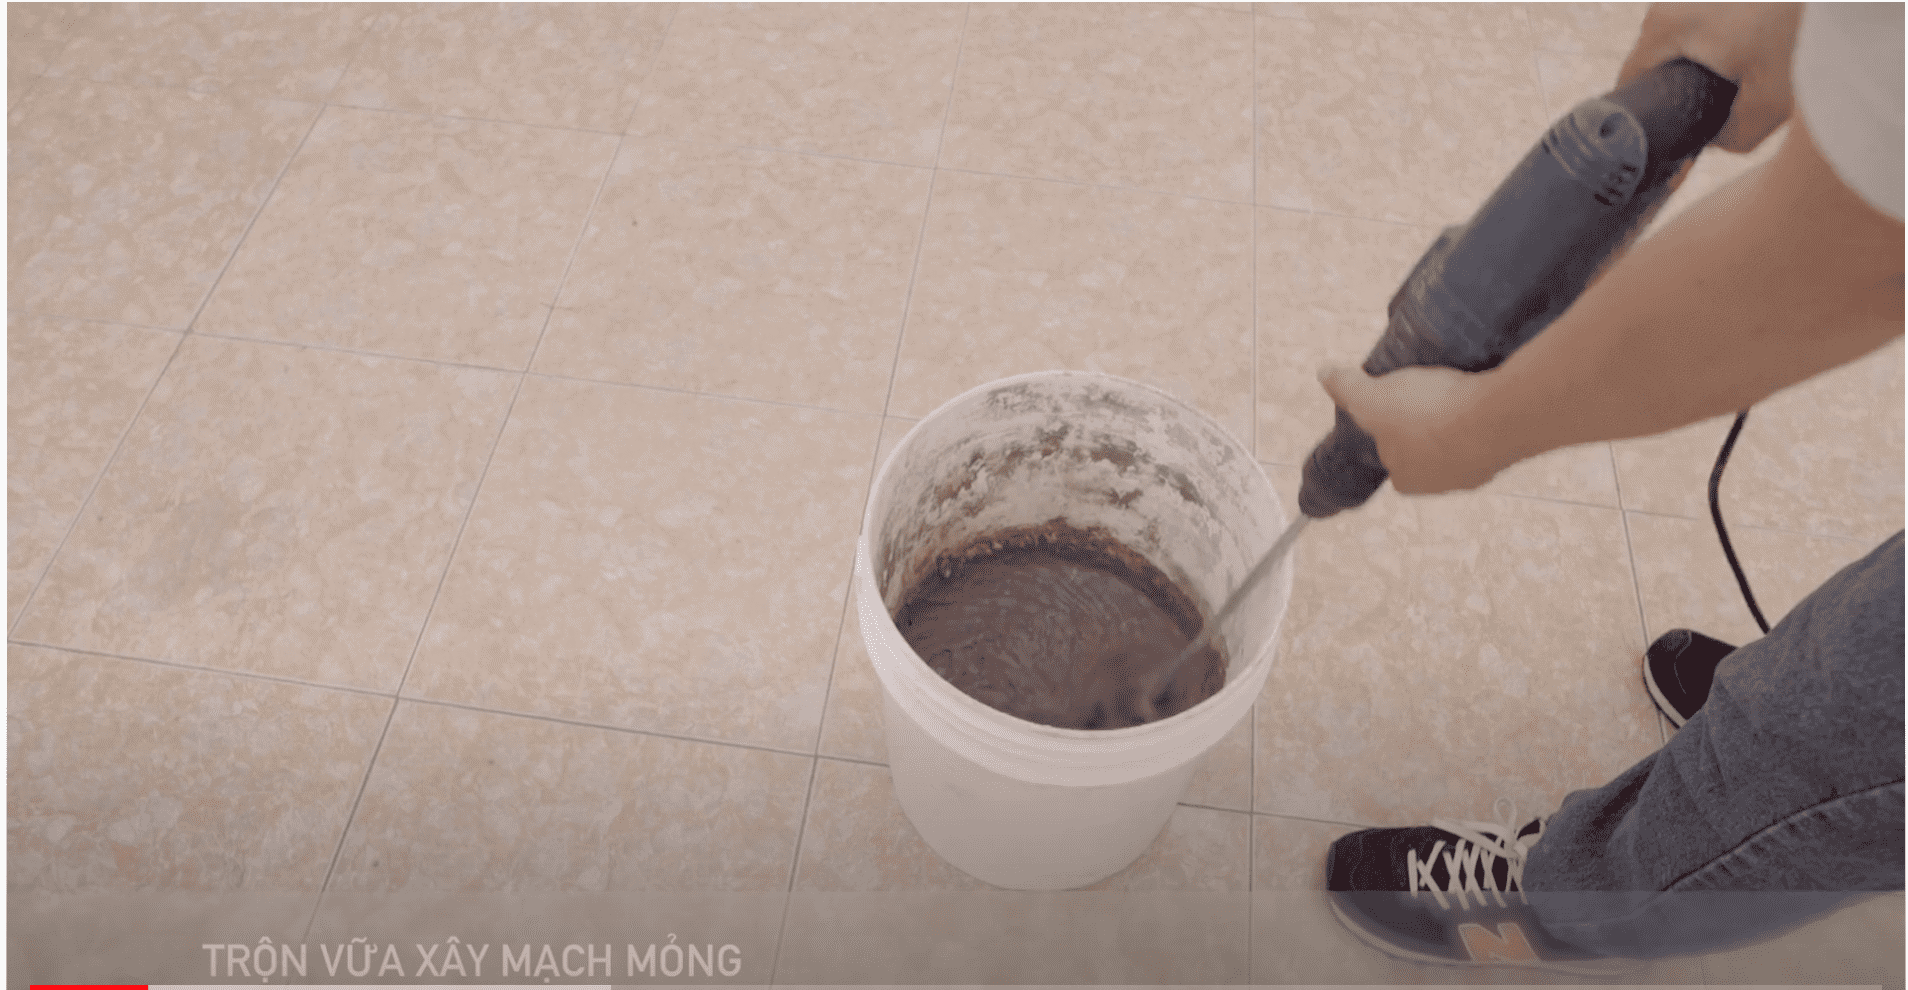
Mix thin joint mortar
Pour water according to the ratio indicated on the mortar packaging.
+ Step 1: Pour water into the tray then slowly add mortar powder.
+ Step 2: Stir the mortar powder well by hand or use the stirring tip attached to the hand drill (for large quantities of mortar you can use a mixer).
2.2.1 Construction and painting stages:
Remember to prepare all necessary construction tools.
Construction:
Step 1:
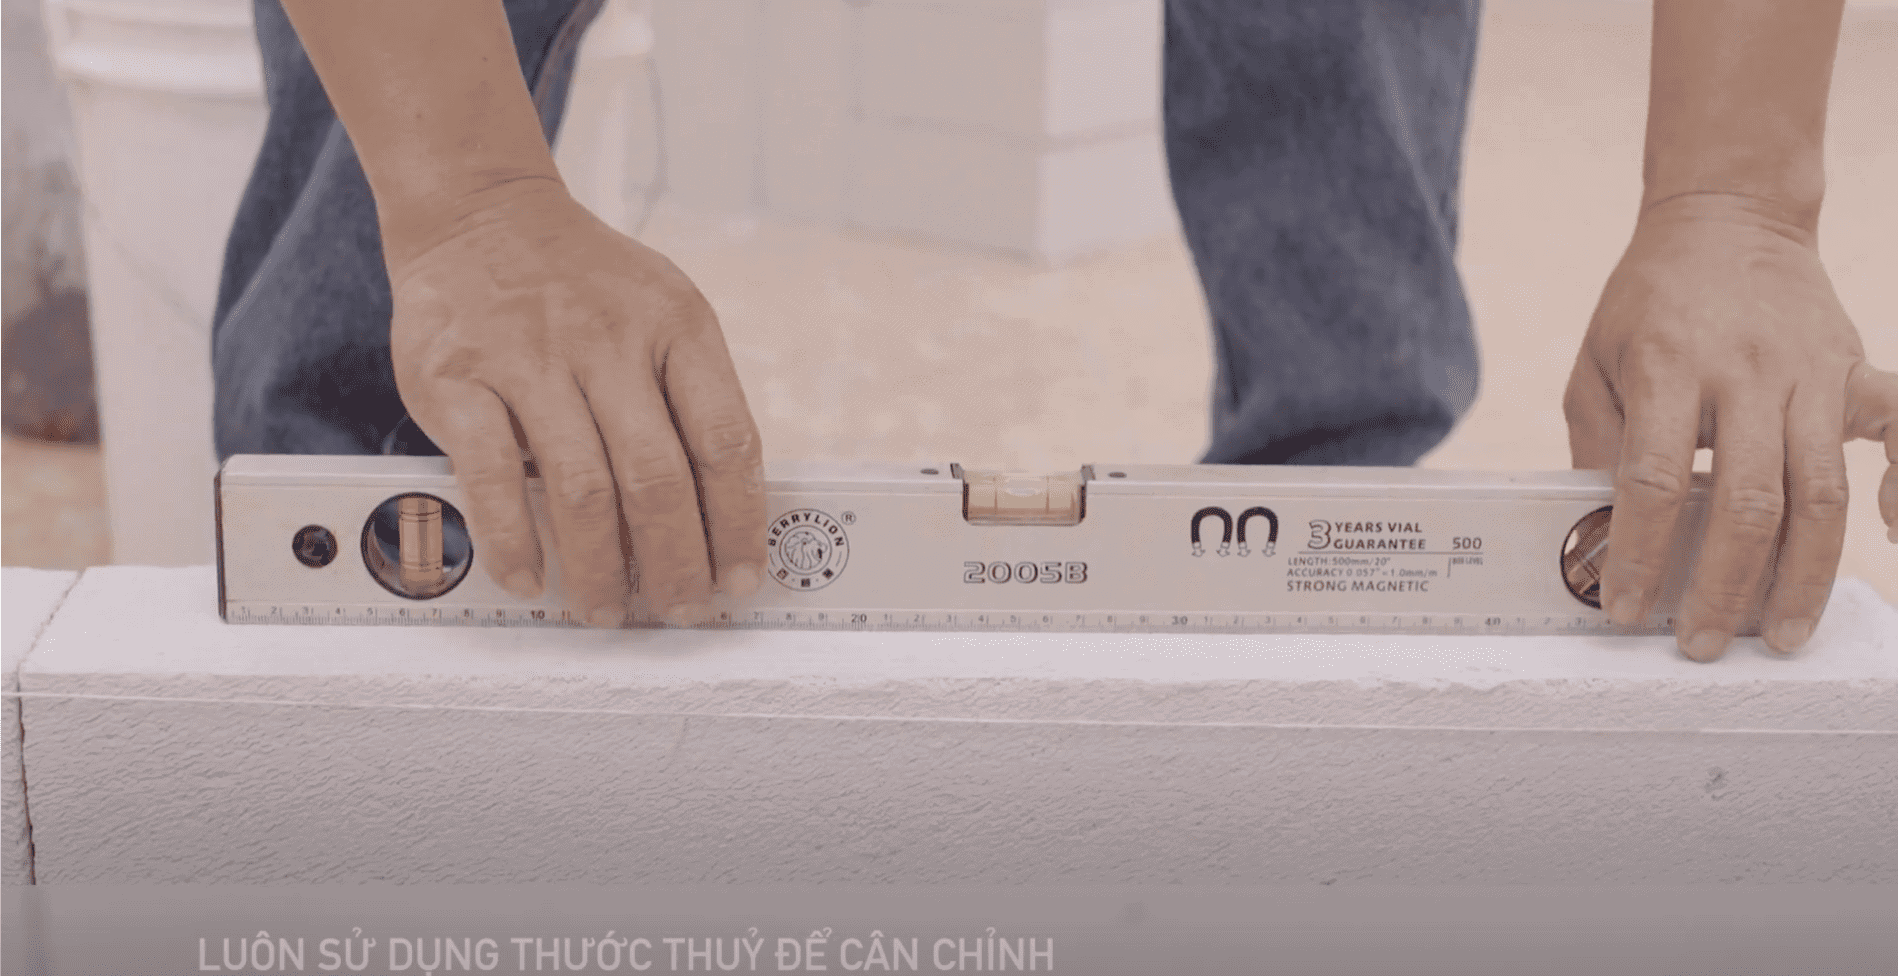
Always use a level ruler to calibrate
+ Use a level ruler and parachute string to align the outer boundary of the wall surface.
+ Apply a layer of mortar 1 to 2cm thick at the base of the wall at the flat surface, the width of the mortar layer is 5cm larger than the brick thickness on each side. And finally check the plane.
Step 2:
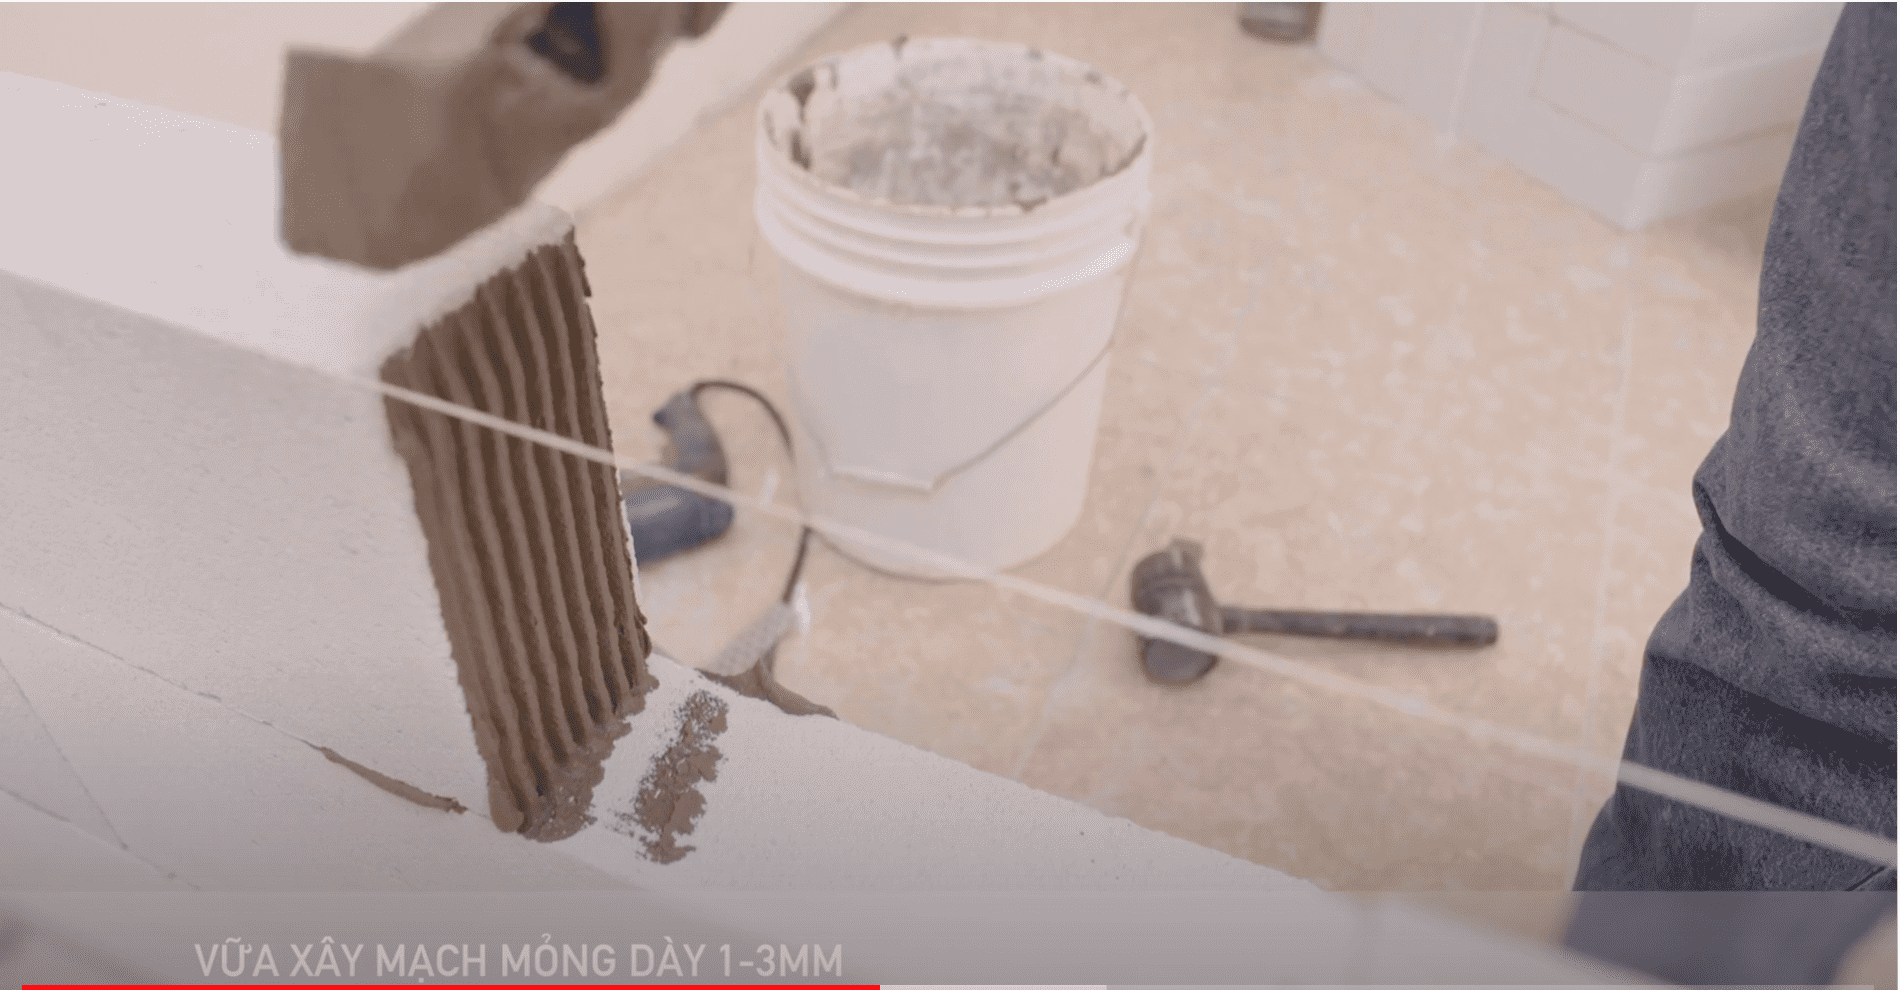
1-3 CM thin joint mortar
+ Use a serrated trowel to apply mortar along the length of the bond surface of the brick.
+ Place the first brick at the corner of the wall with the aligned border and the next brick perpendicular to the first brick.
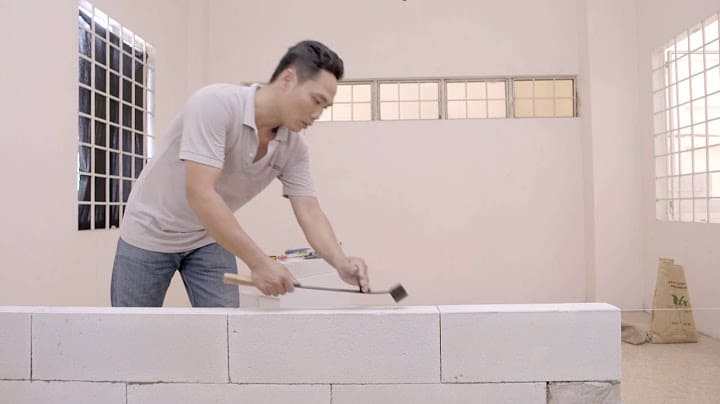
+ Use a rubber hammer to level the tiles to the correct position. Use a ruler to check the balance and straightness of the bricks.
+ Complete building the row of bricks and continue similarly and perform the above step for the next rows of bricks.
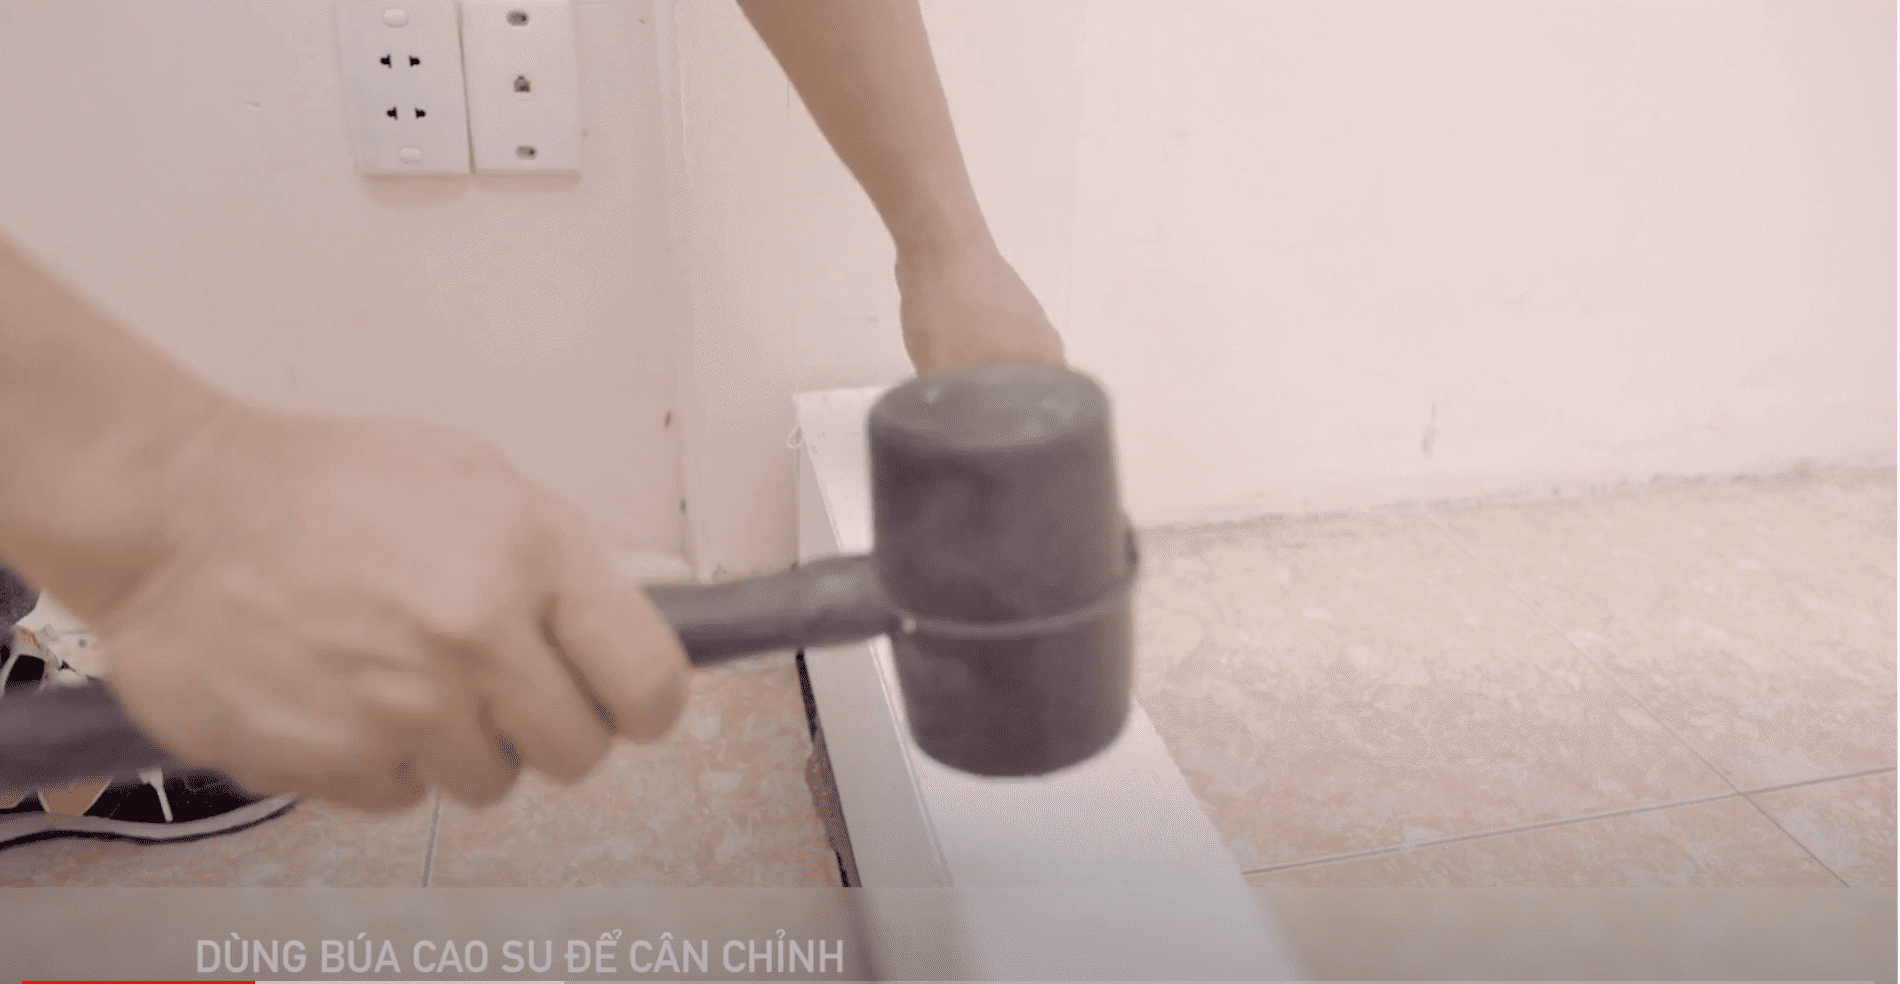
Use a rubber hammer to level
Step 3:
+ Apply specialized mortar to the bricks of the first row according to the length and contact surface of the bricks.
+ Place the first brick of the next row from top to bottom.
+ Use your hand to press and a rubber hammer to adjust the brick from vertical to horizontal.
+ Continue the process until the wall is completed.
Step 4
+ Use a regular trowel to scrape off excess mortar on both sides of the tile.
+ Remember to apply mortar to areas where mortar joints are missing or where bricks are broken.
+ Use a sanding board or high-grit sandpaper to smooth the tile surface.
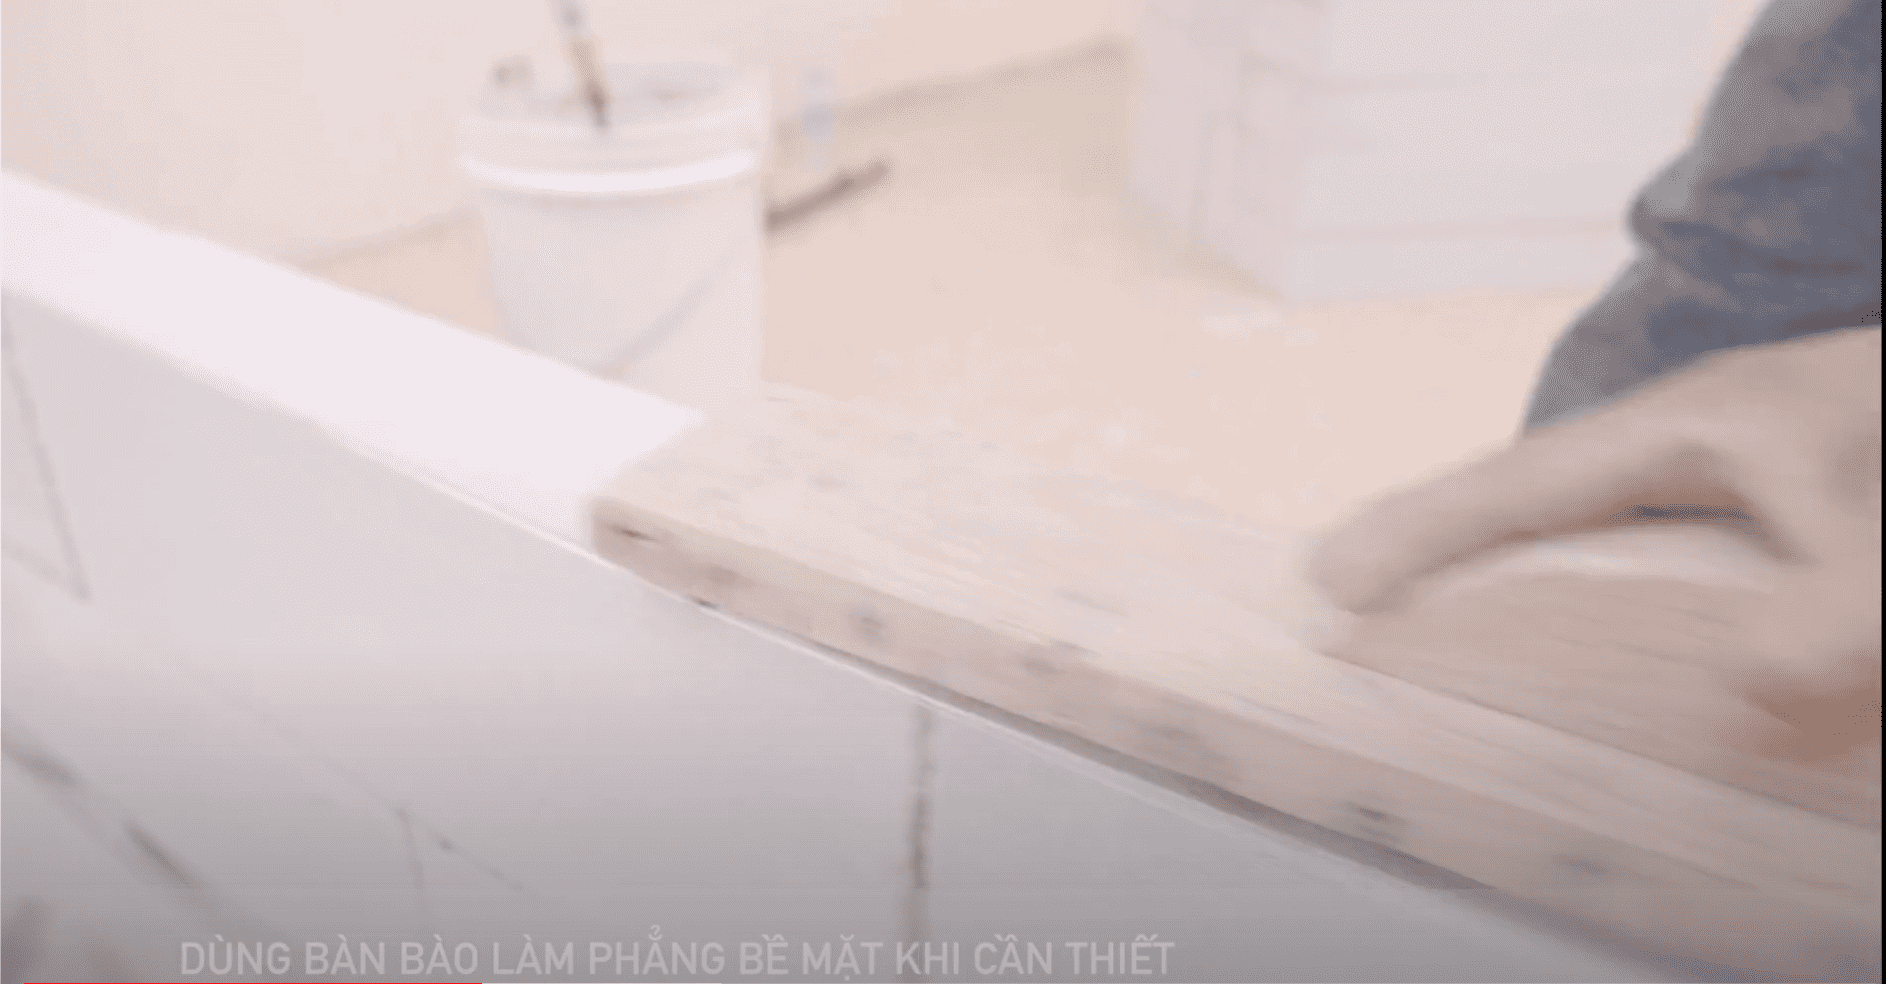
Level the surface whenever necessary
Step 5: Construction of wall pipe system:
+ Use a ruler to calibrate and mark the position where the sound pipe needs to go.
+ Use a hand cutter to cut grooves. Be careful not to cut more than 2/3 of the wall thickness.
+ Use a groove scraper to cut and clean the groove.
+ Install wall pipe system.
At locations where brick walls are connected to concrete columns, or have hidden pipe systems such as electrical wire trenches, water pipe trenches, and the junction between brick walls and lintel beams (lintel), steel mesh must be used to cover both sides by 7-10cm to prevent wall cracks. Grid size is not larger than 1cm.
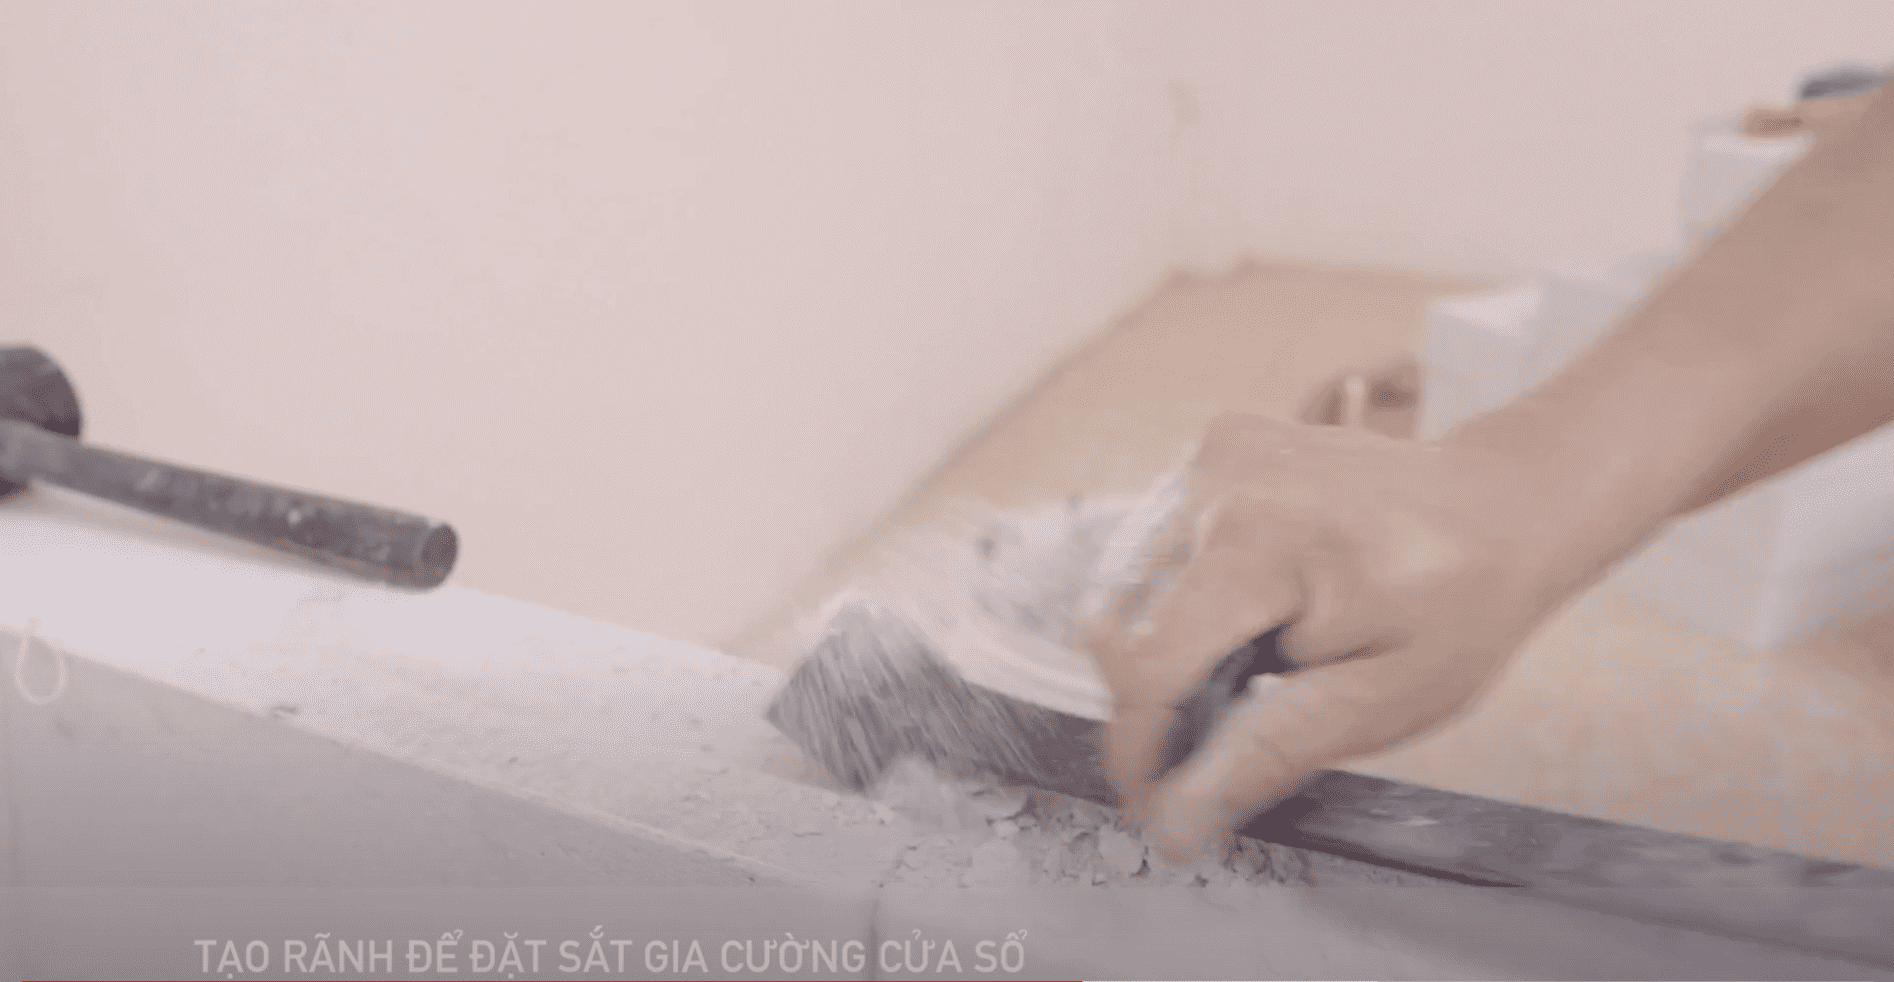
Create slots for windows or underground wires
2.2.3 Construction of specialized mortar:
Painting walls using HASS specialized mortar is the same as painting walls with traditional mortar. With specialized mortar, wall thickness ranges from 5mm-20mm.
Step 1:
- Use a mortar mixing tray or large capacity mixer to mix the mortar.
- Mix pre-packaged HASS plaster with water according to the ratio stated on the package.
Step 2:
- Use a ruler and necessary tools to adjust the appropriate wall thickness.
- Use a mortar trowel and a regular trowel to apply mortar. Apply mortar to the wall with appropriate thickness. Plaster each layer, each layer 5-7mm thick, 5 minutes apart until the wall reaches the required thickness.
- Use an aluminum ruler to remove excess mortar, use a scrubbing board to rub on the mortar until the mortar layer is flat, smooth, and meets technical requirements.
3. Skimcoat application:
3.1 Preparation work:
Wall after construction:
+ Check the flatness of the wall.
+ Use mortar to fill in areas where bricks are chipped and mortar joints are filled.
+ Use a wall grinder to handle the convexity of the wall due to brick errors. The wall has an allowable error of +/-2mm.
+ Clean dust and dirt on the wall surface, clean construction tools: mixing tank, powder brush, level ruler. Mix Skimcoat HASS mortar:
+ Mix mortar according to the correct ratio (water, cement) on the manufacturer's packaging.
+ Add water to the mixing tank in a certain ratio, then slowly add Skimcoat HASS mortar. Stir the mortar well by hand (small volume) or use a mixer for 3 minutes.
3.2 Carry out construction:
- Step 1: Apply the lining layer:
+ Stir the mortar powder well, use a scrubbing board to apply a thin, even layer on the wall. The thickness of the paint layer is from 1mm ~ 1.5mm, the area for each wall painting operation is from 1m2 to 1.5m2.
+ Work multiple times on the surface to create a flat surface and thickness for the mortar layer (painting operations are similar to applying mastic powder).
+ Preliminary check by level. Any location that is not flat needs additional mortar to create a flat surface for the wall.
+ Continue applying layer 1 until the wall is complete.
- Step 2: Apply the finishing layer:
+ After 6 hours, when completing the lining layer, proceed to apply the finishing layer. Finish layer thickness 1mm-1.5mm.
+ Construction operations such as applying primer until the wall is completely painted. Total thickness of 2 layers is 1.5mm~2.5mm.
+ Use a mortar mixing tray or a large capacity mixer to mix mortar.
+ Mix pre-packaged mortar with water according to the ratio stated on the package.
- Construction is similar to the beam surface, requiring a concrete ceiling with a thickness of 1-1.5mm. At local defective locations, it can be constructed with a thickness of <7mm.
4. Waterproofing construction for exterior HASS walls and areas with special requirements:
- HASS bricks have a hollow air bubble structure inside, so they have a higher water absorption than other traditional materials. However, this is also the advantage of this type of brick in regulating humidity in closed spaces, so using skimcoat thin mortar and equivalent types will best ensure the advantage of walls when using HASS bricks.
- For exterior walls, using specialized mortar HASS or equivalent with a thickness of 7mm or more, combined with conventional acrylic-based paints, can completely meet the requirements of protecting exterior walls from rainwater attack.
- For sensitive areas such as basements, toilets, etc. or areas with frequent water stagnation, it is recommended to use HASS waterproof tiles, or use additional waterproofing measures as required by the design.
- Pellets that do not ensure construction quality can lead to movement of the foundation, cracks inside the wall, etc., causing local seepage. Measures to handle these problems are similar to other traditional wall materials.
5. Special notes during the construction and painting process:
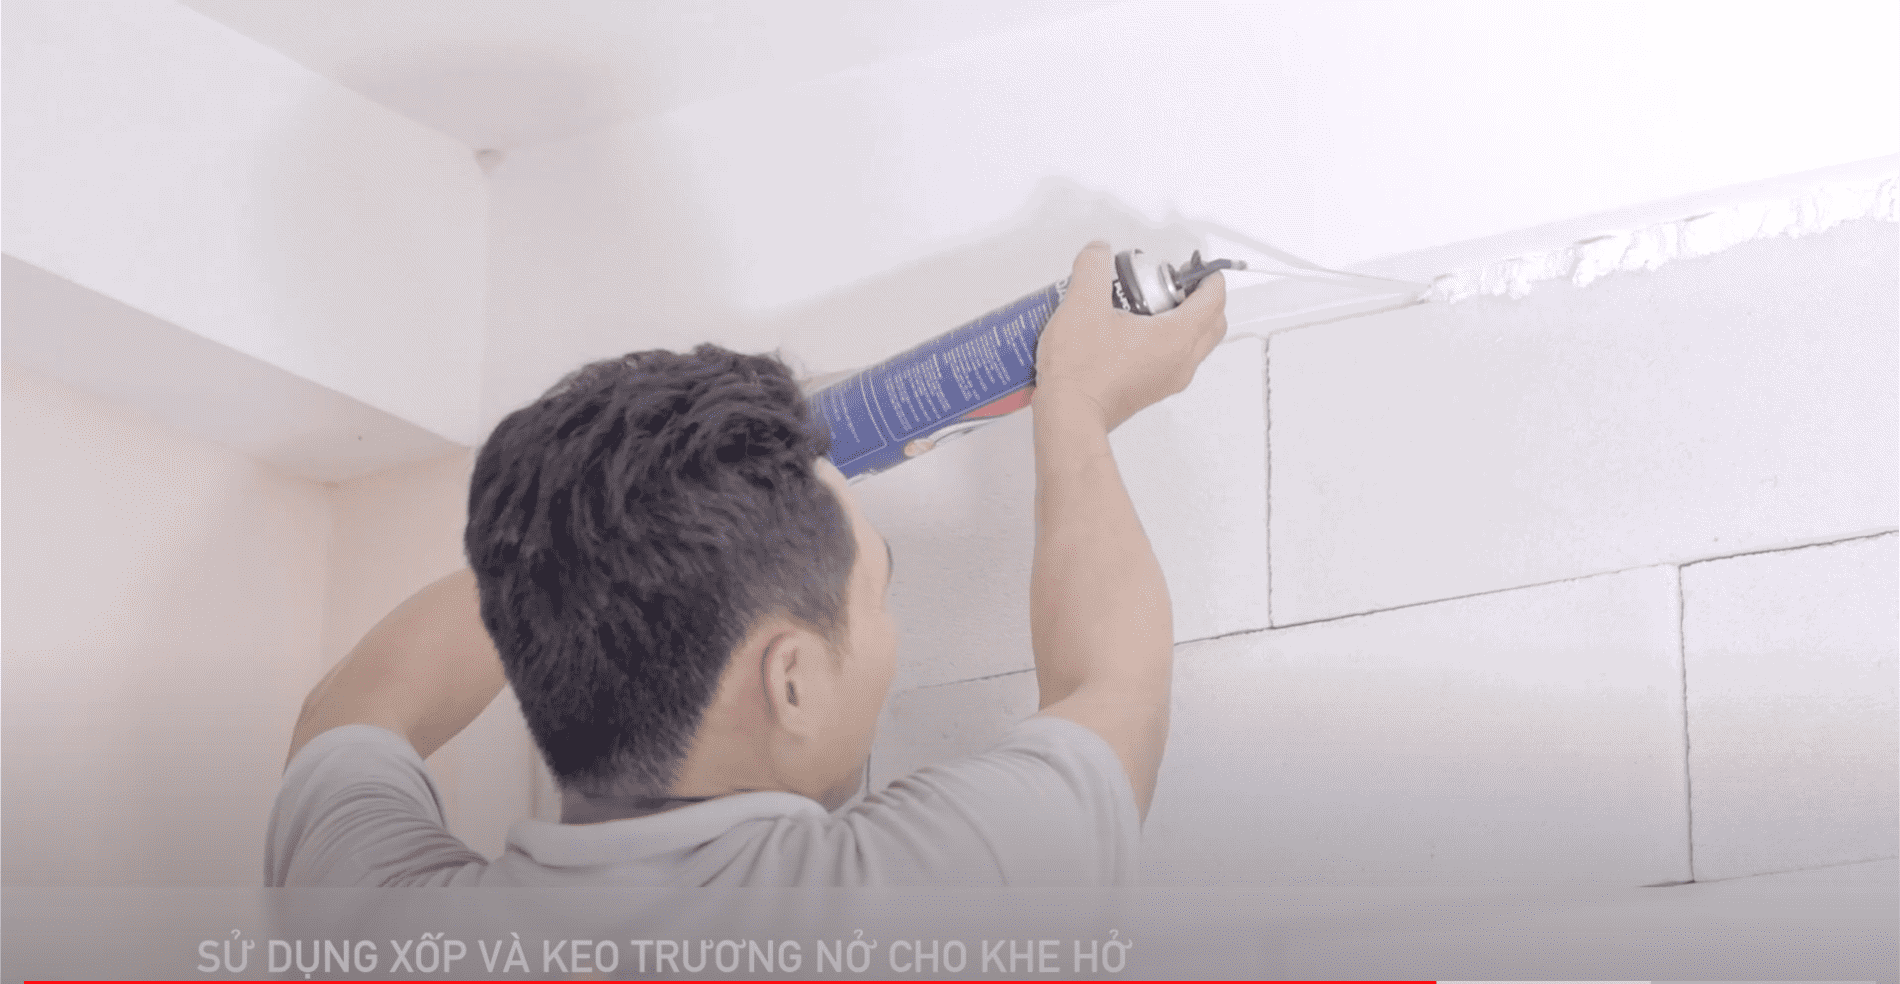
Treat gaps thoroughly
- Build bricks according to the principle: do not overlap between 2 consecutive rows.
- The mortar gap between two rows of bricks is not less than 25% of the brick length.
- Appropriate mortar joint thickness is 2-3mm.
- When the weather temperature is high, spray a little water on the tile surface to moisten the tile and create good adhesion.
- Do not use mortar more than 2 hours after mixing. Do not reuse mortar that has fallen out.
- There must be a connection between the brick wall and the column or guest wall with a minimum height of 600mm or 3 rows of bricks.
- At the junction between the wall and the concrete beam or floor, use an Epoxy glue mixture with high elastic modulus, mechanical strength and adhesive strength to fill the gap.
- Use wall protection measures during construction and painting when it rains.
- After 24 hours of construction, you can proceed with plastering and after 72 hours you can apply mastic.
- With an effective pulling load of 0.78KN equivalent to 78kg, it is enough to bear the force of installing and hanging equipment such as air conditioners, kitchen cabinets, bookshelves, televisions, etc. on the wall.
6. Construction video and guide for AAC lightweight blocks:
You can also visit this website to get more documents "PDF TECHNICAL INSTRUCTIONS FOR CONSTRUCTION AND ACCEPTANCE OF WALLS CONSTRUCTED WITH PRESSURE Aerated CONCRETE BLOCKS" here
Or watch the video tutorial now:
HASS hopes that after the article Instructions for construction with AAC lightweight blocks, you will understand the construction steps with AAC lightweight blocks. safety effect results and have more useful information while using HASS products.
Need a quotation or technical advice?
Send a request and the HASS technical team will respond during business hours.